Showing posts with label cakes. Show all posts

Friday, May 13, 2011

Chocolate Ganache Cake

So I wanted to be such a wonderful daughter and make a delicious cake for my mother's birthday slash mother's day! I have had this one particular cookbook for some time that was a decorating-information based cookbook and there had been this one cake I had wanted to try out for a really long time. The recipe was really simple...

Okay, okay. So I was lazy and decided just to do a from-the-box cake for this one, and some simple ganache. But the effect was amazing! I let the ganache cool enough that I could use it as frosting, and frosted both layers of the cake. Then, I put the leftover ganache in a bowl and warmed it with hot water in the sink (don't mix the water with the ganache, just let the bowl sit there until it gets all melty and delicious-like). 


Cake Recipe (you need double recipe for two-tier cake with 2 layers/tier)
1 box devil's food cake mix (I used Duncan Hines)
1 1/3 cups water
1/2 cup vegetable oil
3 eggs

Preheat oven to 350. Combine ingredients in a large bowl and mix well! Divide the batter evenly between the pans and bake for 35 minutes for the bottom tier (9" square pan) and 25-32 minutes for the upper tier (5" square pan). Make sure a toothpick comes out clean when baking, as bake times may vary for different brands of cake mix. 
Use the back of the box for a more accurate reference for cooking times. Let cool for at least thirty minutes before trimming, stacking, and frosting. 

Ganache (I doubled the recipe for two tiers and since I am frosting and "dripping")
1 cup heavy cream
1 package (12 oz) semisweet chocolate morsels 

Heat cream in a small saucepan over low heat until small bubbles appear. Remove from the heat source and pour the cream over the chocolate morsels- stir until smooth. For ganache frosting, let cool for about an hour. To reheat ganache for dripping, place the extra ganache in a bowl and place the bowl in hot water- stir continuously to soften the ganache. 

To Decorate
Using a knife, slowly trim the top of each layer so that it is flat and even with the second layer of each tier (ex. the first layer of the bottom is the same height as the second layer of 
the bottom tier). Do a quick layer of frosting before stacking each tier. Crumb-coat the bottom tier with the cooled ganache, and gently place the top tier in the center of the bottom tier. Frost the top tier. Set in the fridge for 30-60 minutes and do a thin, second frosting layer to smooth out and cover all of the bumps from the crumb coat. To reheat ganache for dripping, place the extra ganache in a bowl and place the bowl in hot water- stir continuously to soften the ganache. Make sure it is warm and thin enough to "ooze" on the cake. Pour the bowl of warm ganache onto the top of the cake, and use a spatula to help guide it over to the sides of the cake so that it can ooze its way down.


Happy mother's day and birthday, Mama!

Monday, November 15, 2010

Chocolate, chocolate, everywhere...


Monday, September 13, 2010

Kelly's Birthday Cake

To start off, my family is a huge thing to me. My cousin is my best friend in the whole entire world, and so I knew for her eighteenth birthday I needed to do something special. I planned a couple of things, ordered a present and such, but I really wanted to make her a special cake. I spend four hours working on it on Saturday, making my own frosting and hot pink fondant. The cake represented her in her favorite colors- pink and green. Most of the decorations, I admit, were to cover up mistakes in the fondant, but overall, I think it turned out well. It was my first tiered cake and my second fondant cake. I did two layers of white cake on the bottom and two layers of white cake on the top, with buttercream icing in between the layers.


This is me and my amazing cousin, Kelly. Believe it or not, people think we're sisters. Yeah.
Onward to the cake! I'm so proud of it!



Happy 18th birthday, Kelly!

Monday, August 16, 2010

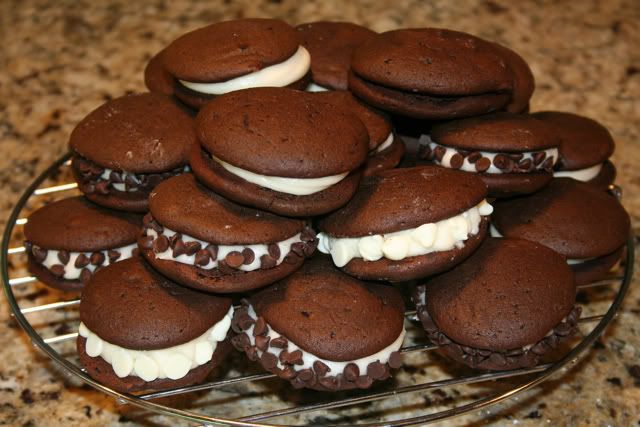
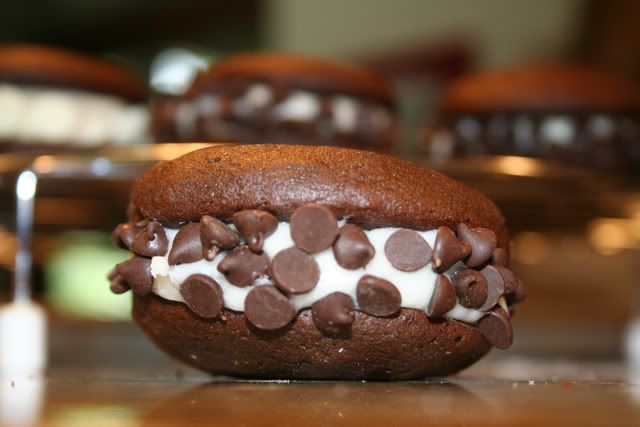
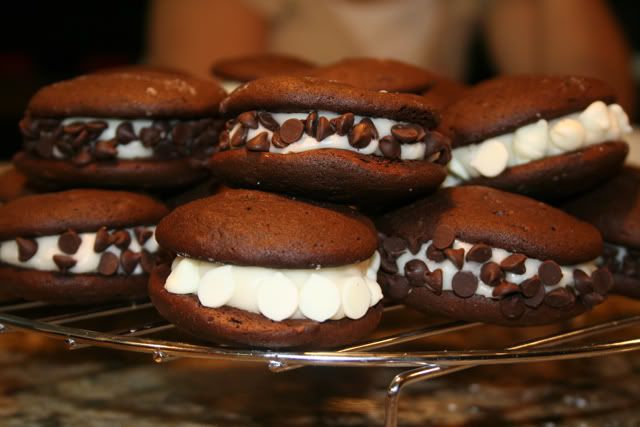
Whoopie Pies

I woke up this morning with an urge to make something new. Naturally, I explored Bakerella's amazing website and remembered a post I had found a couple of weeks ago that I had been wanting to make- the one for whoopie pies. I wasn't sure when I would find the time to make them, since my family is preparing to go to Serbia for the International World Space Modeling Championship and I'm frantically trying to finish up building my model rocket. Because of that, I will probably not be posting for the next couple of weeks.

But I managed to sneak away for about an hour to make my whoopie pies. Why do they call them whoopie pies? Because when you bite in to them, you whoopie for joy. Yes. They turned out deliciously.


Whoopie Pies


I just made the chocolate kind found on her website, so this is the recipe for that.


Ingredients:

  • 1 2/3 C flour
  • 2/3 C unsweetened cocoa powder
  • 1 1/2 teaspoons baking soda
  • 1/2 teaspoons salt
  • 4 tablespoons unsalted butter
  • 4 tablespoons vegetable shortening
  • 1 C packed dark brown sugar
  • 1 egg
  • 1 teaspoon vanilla
  • 1 C milk
1. Preheat oven to 375 degrees.
2. Line baking sheets with parchment paper.
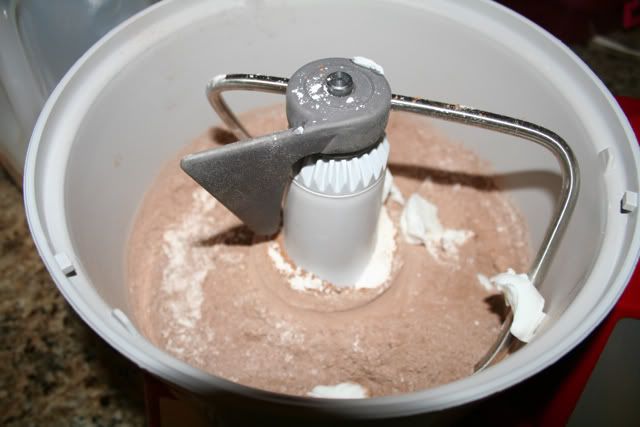
3. In a bowl, sift together, flour, cocoa, baking soda, and salt.
4. In another bowl, beat butter, shortening and sugar with a mixer on low until just combined. Increase speed to medium and beat for about 3 minutes.
5. Add egg and vanilla and beat for two more minutes.
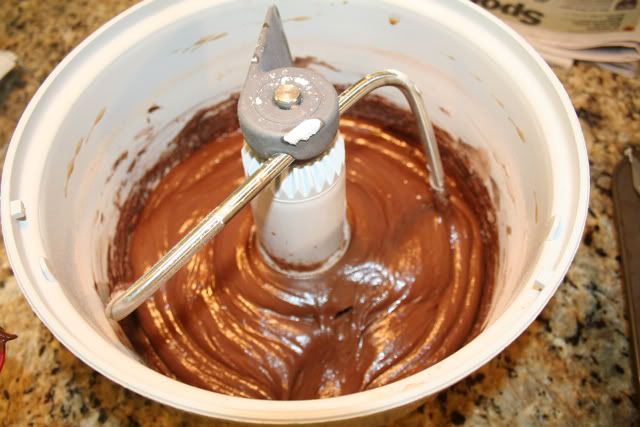
6. Add half of the flour mixture and half of the milk and beat on low until incorporated. Repeat with remaining flour and milk and beat until combined.
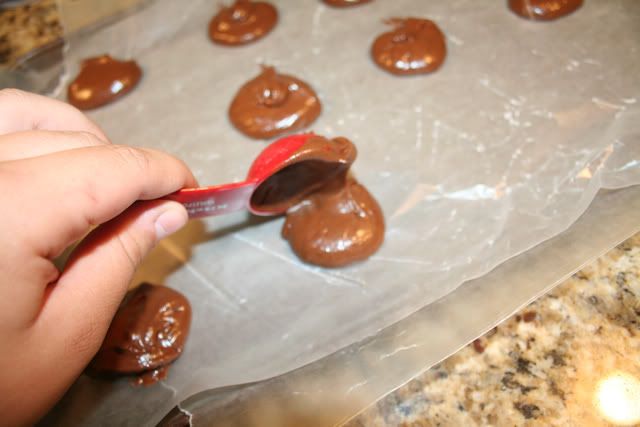
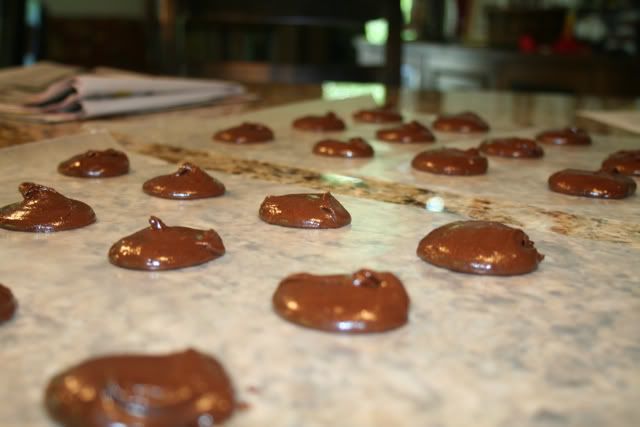
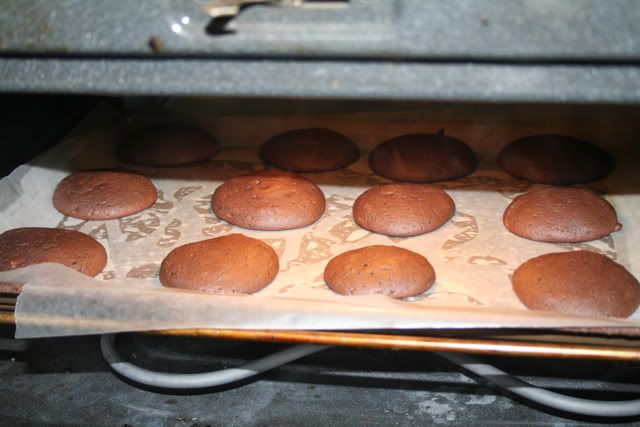
7. Using a tablespoon, drop batter on baking sheet two inches apart. Bake for about 10 minutes each or until pies spring back when pressed gently.
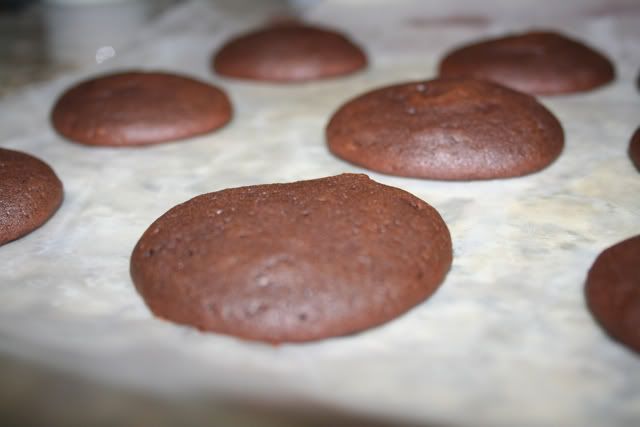
8. Remove from oven and cool for about five minutes before transferring them to a rack to cool completely.


Now you're ready for the frosting. Bakerella used a peanut butter filling, but I decided to do a cream cheese filling instead, because I like cream cheese better. Yup.


Cream Cheese Filling

  • 3 C confectioners sugar
  • 1/2 C (1 stick) unsalted butter
  • 8 oz cream cheese
  • 1 teaspoon vanilla extract
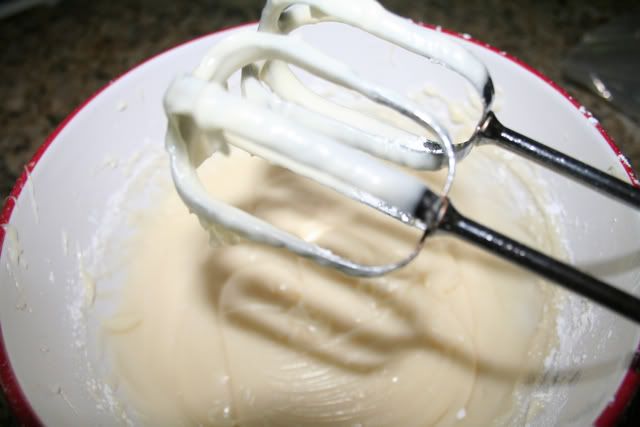
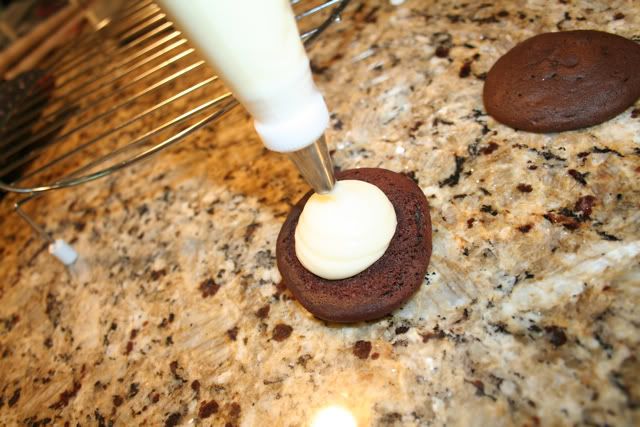
Just mix them all together. I used a spoon at first, and then beaters to get it good and whipped. I had to add about a cup to a cup and a half extra sugar to make it thicker, so just see where it is for you. It can't be too runny. I piped the filling onto the  pie halve, and it made it pretty and it was easier than spooning it on.


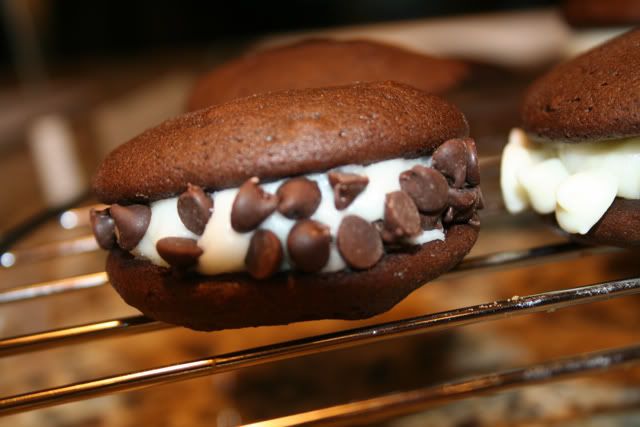
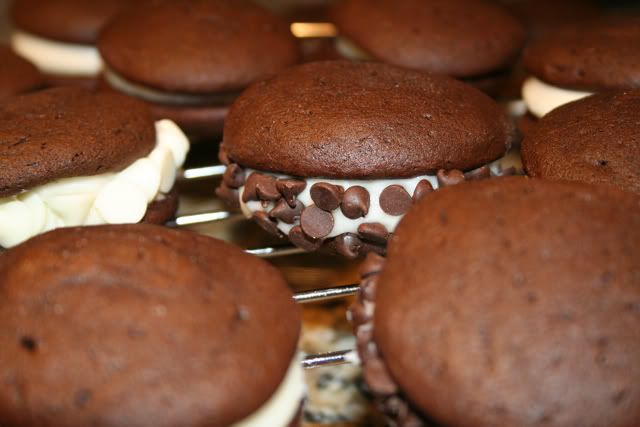
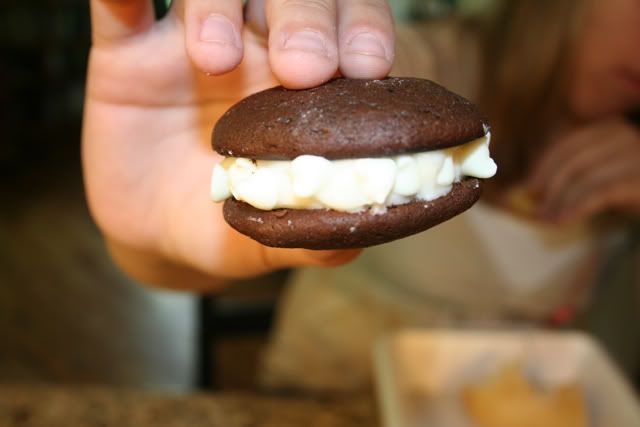
Then you just squish the other pie half on top! Bakerella put little morsels around the sides of the pie, so I decided to try that too. They turned out wonderfully.


Sunday, August 15, 2010

Cake Balls!

Bakerella. I follow this amazing woman's blog, and let me tell you, if I had half her talent, I'd already own my own bakery and be rolling in dough. Literally. She is amazing- I wish I could make everything she has ever posted, but alas, I have neither the time nor the money for supplies. So I settle for drooling over every post.

A couple of months ago, my mother sent me a link to her recipe for cake balls- crumbled cake, mixed with frosting and rolled into balls and then covered in chocolate. They took a long time for me to make the first time, but I can tell you- they were the biggest hit with my friends and family. I'm very fond of making them, because they're amazingly delicious and everyone seems to get really excited when I say that I'm making them. Well, when my SIL Rachelle, my brother, Cody and I all went to see "Despicable Me" a couple of weeks ago, I saw the minions and I was instantly swept into cooking la-la land- I could make minions out of the cake ball recipe. It was my best idea yet! So here you have it. Cake balls slash cake ball minions.

P.S. I highly recommend seeing the movie. I could NOT stop laughing!


Cake Balls and Cake Ball Minions

The recipe is pretty simple. All you need is cake, frosting, and cooking chocolate. 
Bake the cake however you desire- chocolate is really really delicious, but my friends have recently said white cake tastes amazing with the chocolate coating. It's all up to you! 

I forgot to take a picture of the baked cake. But hopefully you all know what one looks like.

After you've baked it, crumble it all into a large bowl. I've found breaking off pieces of the cake and crumbling it in portions is easier than trying to do the whole thing. Get it good and crumbly. Then scoop out a whole can of frosting and plop in on top.


This part tends to get a little messy- you have to mix the crumbled cake with the frosting. You can do it with a spoon, but it's so much easier to just get your hands in there and mix it up. And besides, what's cooking without getting a little messy anyway?


Now that it's all mixed up, take little chunks (no larger than an inch in diameter, or it gets hard to cover it in chocolate all the way) and roll them into balls using the palm of your hands. Make sure to wash your hands in between mixing and rolling, because if you roll while your hands are still all sticky from mixing, the balls tend to be a little less solid and more sticky. If you're making pops, or minions like myself, I rolled them into oval-ly ball things and stuck baking sticks in them. I have no idea how to describe it.


Now, at this point I like to refrigerate the pops for a couple of hours. That way they're more solid and less likely to crumble in the chocolate when they're coated. They're just easier to work with that way. And I like easier to work with.


After they've been chilled for a little while, take them out and melt the chocolate. I usually use an entire bag of candy melts, and that's usually enough to fully cover all of the cake bites. 


Just plop the ball in the chocolate, use the spoon to cover it fully, then pick it up with the spoon, tap the side the pan to get some of the excess chocolate off of it, and then plop it down on the pan!

For the minions, I did the same thing, but I put the ends of the sticks into a colander so that the bottom of their chocolate bodies wouldn't be flat. Even though some of them still ended up that way.

Then you let the cake bites cool off, put them in the fridge to chill, and vwalah! You have amazingly delicious cake balls.


Katydid Cakes Copyright © 2009 Cookiez is Designed by Ipietoon for Free Blogger Template